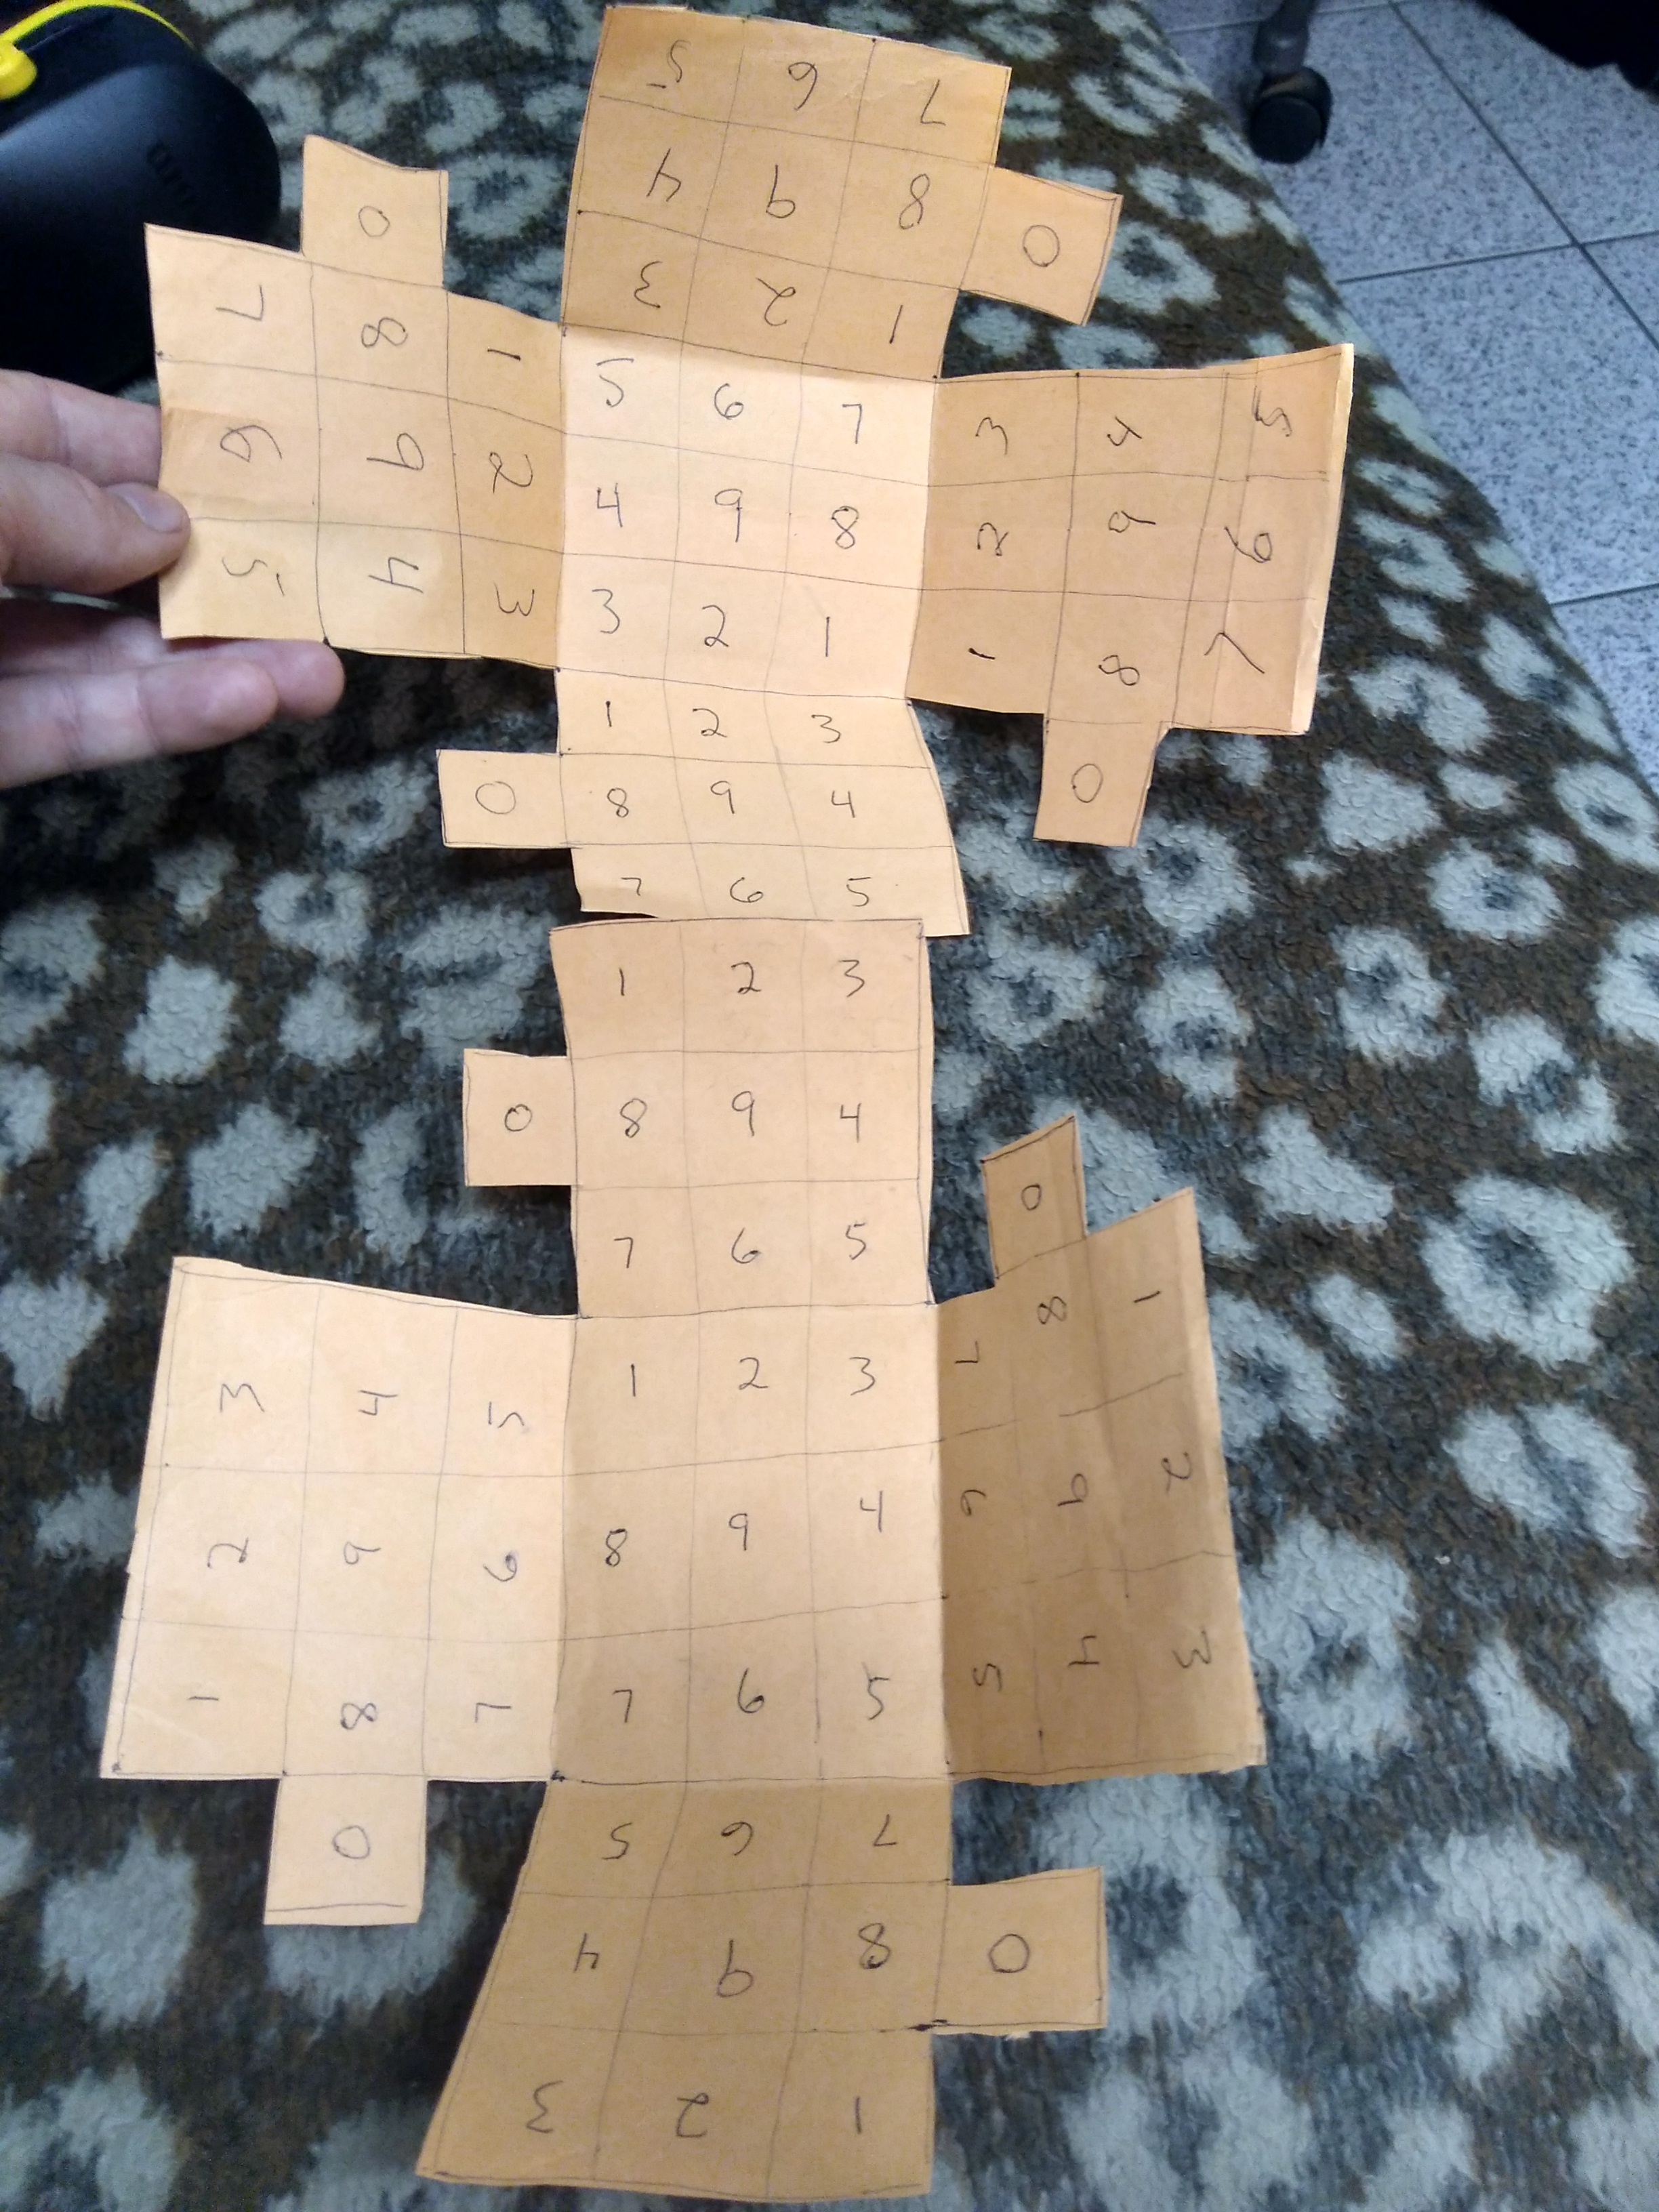
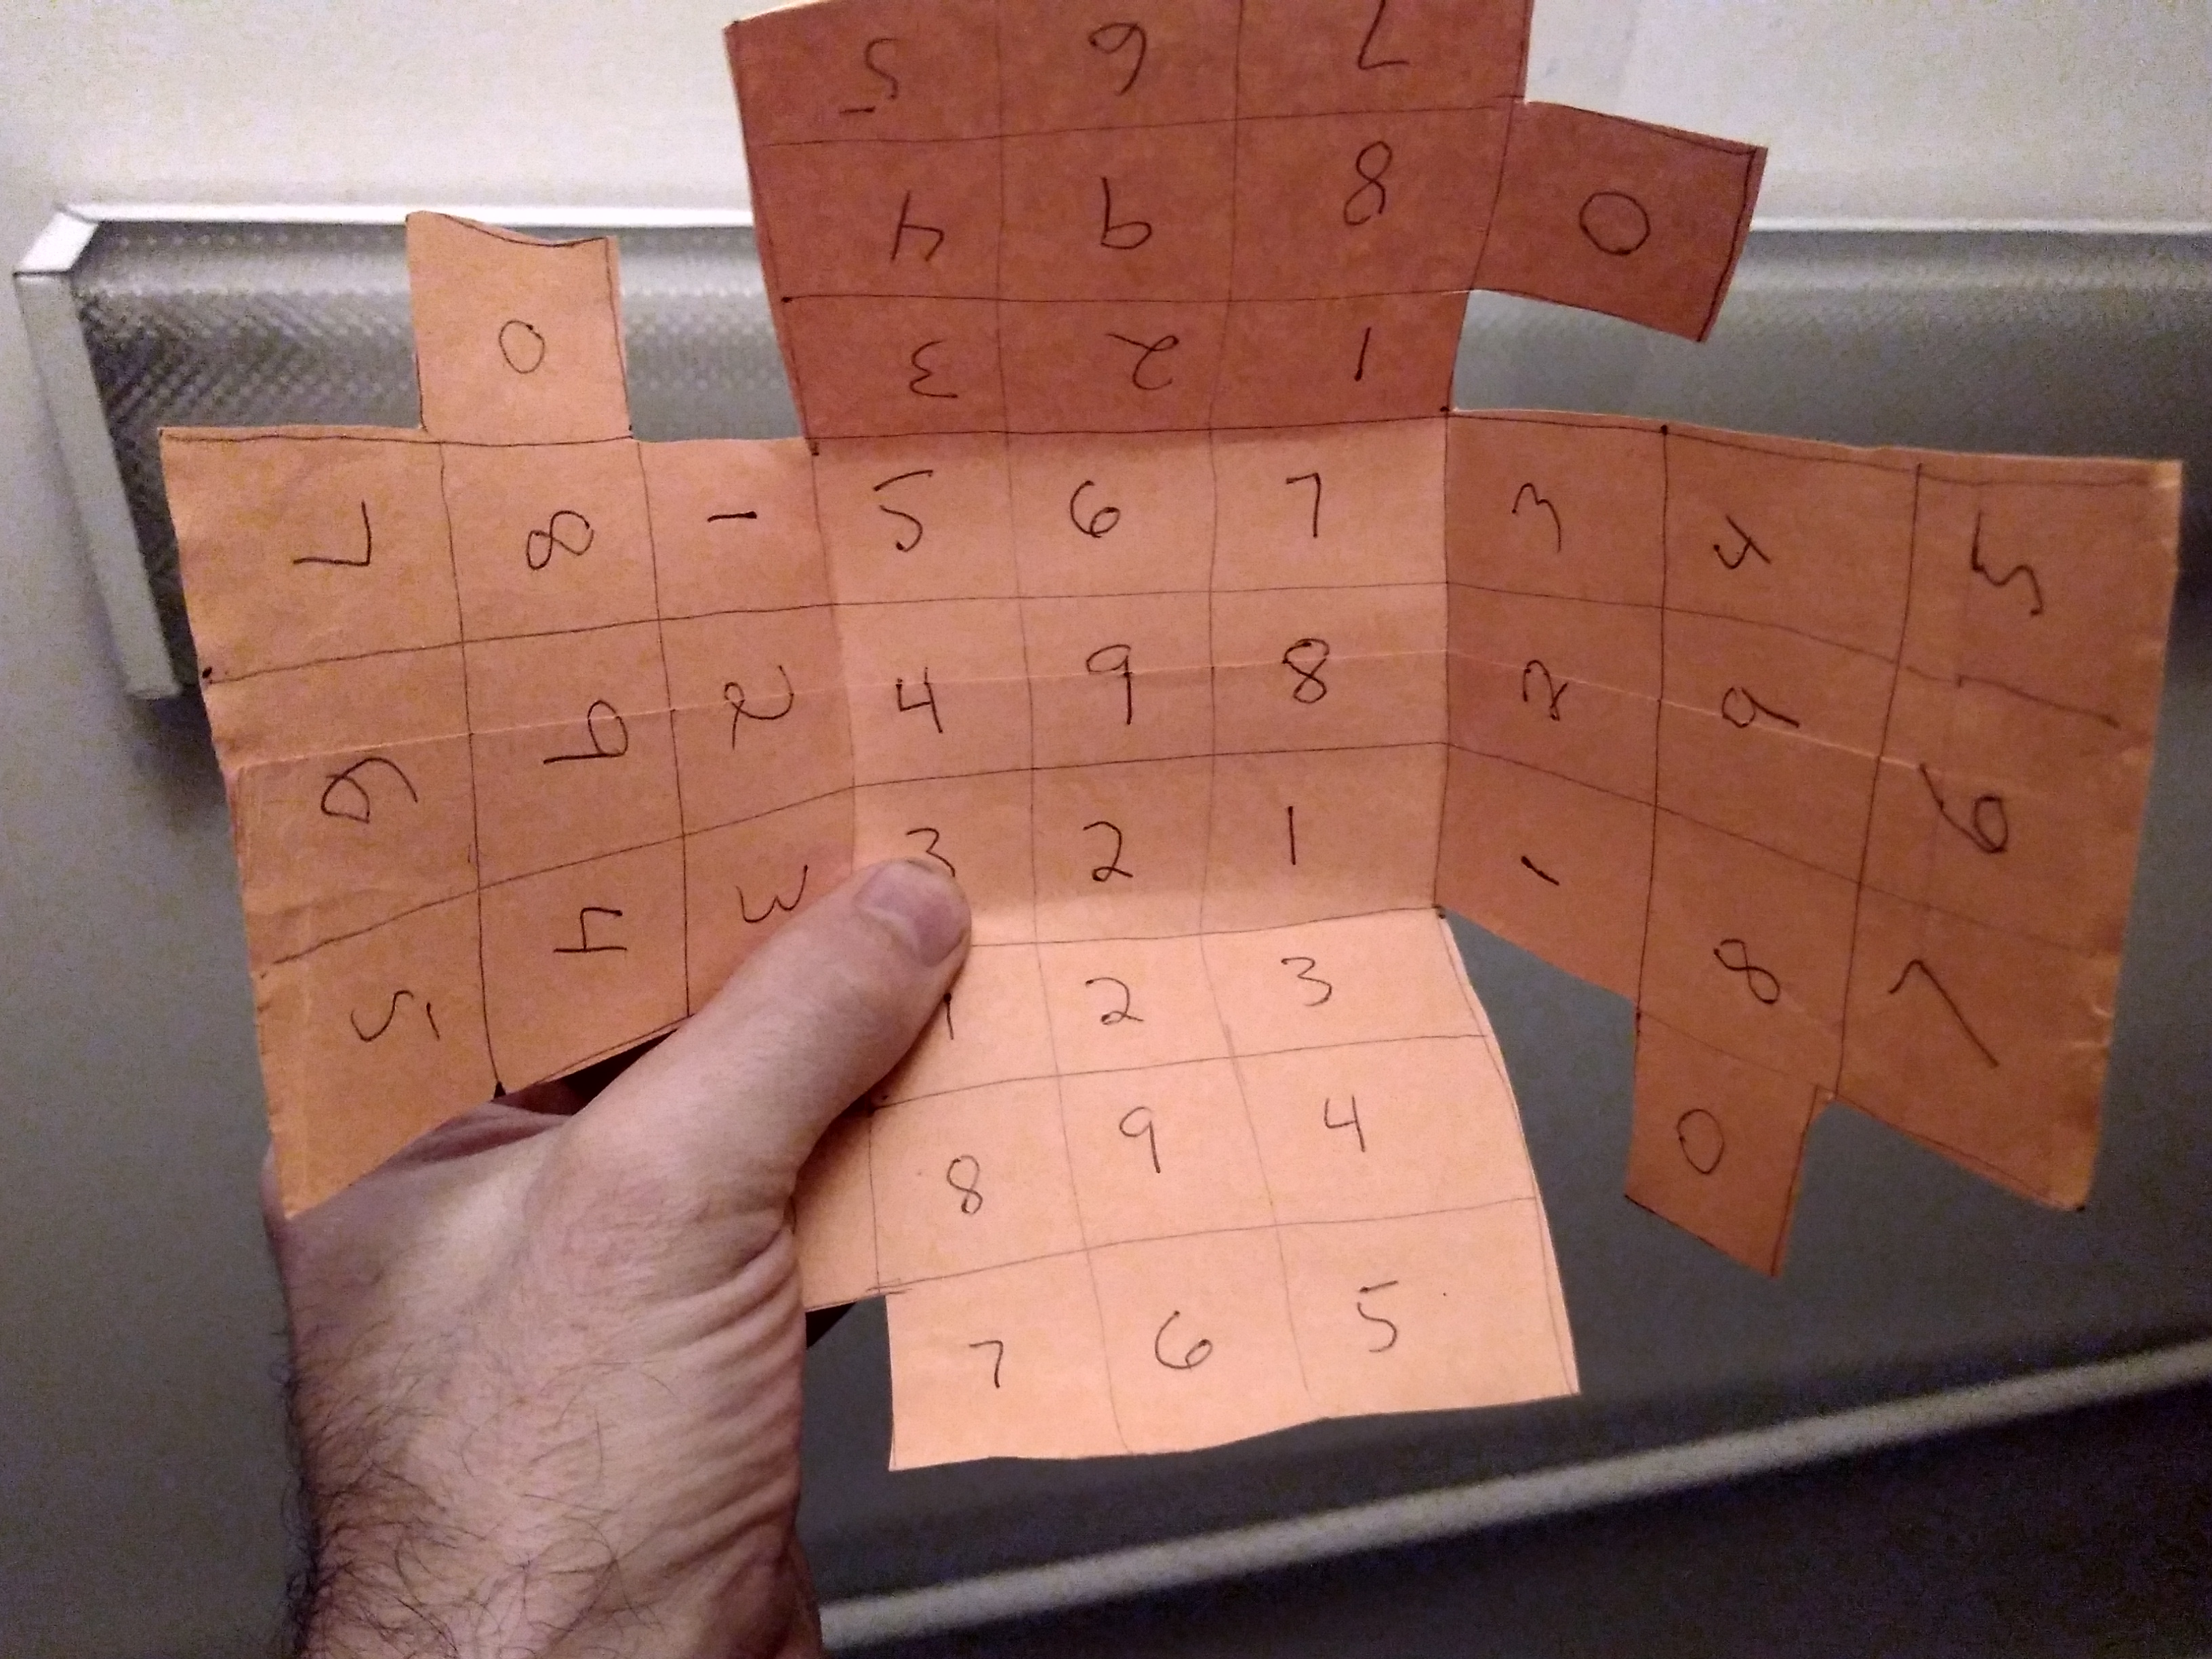
My new pb is 2:18. My method has changed a bit for a few cards. I find it better if I always enter odd and even locus the same way. So, the moves or cards that are affected by this change are those where I would use either both top images in a locus or both bottom images. The reason is that when I do this, I enter the next locus in a way that isn’t consistently alternating between the bottom (images 0-49) and the top (images 50-99).
I’m reposting here my method from post 63 on this thread. I will highlight what is changing and underline the changes.
It uses 26 memory castles of 100 images each such as the ones described earlier for the Less L. and Less D. L. methods.
There is one minor change however to the value that give to two of the walls in those memory castles: The wall of the 50s, which is located on the left (from having one’s back against the 0’s grid) and set usually higher in the locus, used to represent royals (from Jack of Diamond-50 to Jack of Spade-59.) Now those cards are re-assigned to the ceiling grid. The ceiling grid used to represent the clubs and now the clubs are located where the 50s used to be. Doing this switch really simplified things and I’ll explain why later in this post.
The principle of selecting two images per memory castles to represent 2 cards continues to be in effect.
I think the best way to explain the method is simply to go over a bunch of examples. A lot of examples are needed to cover the many possible combinations of two cards.
Say I start with a 5 of Clubs. At the start, I’m at my zeros wall and since 5 of Clubs is worth 35 (Less L. method) , I’ll simply hit image number 35 in my locus. Then, say the next card is a 4 or Spades. I’ll hit image 54 because, and this following rule explains why:
On the second image or card of a locus, if you get a spade from a vertical low position 0s 10s 20s 30s (neither ceiling nor floor) then you must hit across the room and high. Image 54 is across the room and high. (If the spade had been the first card, we would have simply hit the floor, or 90s as the 90s grid represent the Less L. Spades)
Now we move to the next locus and we enter by the high wall of the 50s (the same wall type as the second image from the previous locus) Now say the card is a 2 of Spades. Then we will hit image 52 of that wall. That is because the following rule:On the first card of a locus, if you enter by a high vertical wall (40s,50s,60s,70s) and you have a spade card, then you just hit the image on the wall by which you are entering.
Now, say the 2nd card for that locus is 9 of Spades, then you hit image 99 of the locus as in the Less L method. (9 of Spades is worth either 49 or 99) (Do not hit image 49 because from image 52, moving to image 49 would represent a lateral move and lateral moves are reserved for when you get either a club or a diamond card.)
Okay, so now we move to the next locus and we enter by the floor grid. Say the card is a 5 of Diamond. Then you hit, as you would with the Less L. method the image #15 of that locus. (If we were entering by the ceiling grid, we would be hitting image #65 because it is physically closer from the ceiling.) Okay
now say the next card for that same locus is an 8 of Hearts. You would then be hitting image 58 in that locus because of this rule:
On a second card in a locus, if you get a Heart from any vertical wall, then you go either to the wall below or the wall above. So, just above the girds of the 10s is the 50s and so image 58 is picked. Let’s keep going.
Next locus, we now get a King of Diamond (02 or 82-used to be 02 or 52 in Less L) as we enter from the 50s (being the same grid type as the final card from the previous locus) We’ll be hitting image 82, on the ceiling. (Now, had we entered this locus from a lower grid -10s,20s,30s,40s- we would have remained on that same grid and hit the second image of that same grid, much as we did earlier for our 2 of Spades and the upper locus entrance)
Now let’s say the second card in that locus is a Jack of Hearts. We will then image 73. The reason is that whenever the 2 cards of one locus are both royals, clubs or diamonds, you generally go as much as
you can in a straight line within the locus. So, in this case, we have entered from the 50s, hit the ceiling 82 and now bouncing across in a straight line to the grid of the 70s. Since the Jack of Hearts is always a 3 (either 03 or 83 with the modified Less L System) we hit the image 73 and when we’re doing our recall, we’ll know that the 73 represent a jack of hearts because we can see the straight trajectory that was used to reach that image.
This concept of the straight lines remains in effect but only when the ceiling or floor are involved (80s or 90s.)
All of the above is now discontinued. If two faces in a row come up, they will alternate between top and bottom. In the example above, the second Jack of Hearts will simply hit the 03 image of that locus.
Okay, now on to the next locus, entering by the grid of the 70s. Let’s say we now have a 3 of clubs. Since a club is a black color we will hit laterally the image that is on a grid either to the immediate left or right depending upon the color of the grid (The concept of the color of the grid comes from the Less L. system where the 10s 20s and 60s 70s are always red girds because you put diamond or hearts cards on those grids whereas the 30s 40s and 50s – and by the way that is why 30s and 80s had to be switched with this new system- are now black as you put the black club or spade cards on those grids. Okay, so right beside the 70s, you have the 60s which are red and the 40s which are black, so we’ll put this first club on image #43 of that locus. Now say the next card is an 8 of Clubs, we have to go in a straight line as much as possible and this means we’ll hit high again and right next gird, the grid of the 50s, image #58.
This changes. We don’t go in a straight line here anymore. Instead, we go to the lower level and hit the black side wall that is adjacent, the 30s. Had the card been a diamond, we would have hit the 10s.
Okay, next locus, entering by the grid of the 50s, say we have an Ace of diamond. We then look laterally to the immediate right or left grid and pick the red one. In this case, it will be the 60s and so we hit image 61. Now the next card for this locus is a 6 of clubs. When there is such a change of suit within a locus, we switch levels as we keep going in a now rather skewed line. A straight line would have gotten us to the 70s but now we hit below the 70s where the 30s are found. This works very well as a 36 is a Less L. 6 of Clubs but that doesn’t always work so neatly.
Now, this always work this way. There are no exception. The club, a black card will always hit the 30s, a black wall in that manner.
We will try something similar but which does not have this neat ending. So we’re entering the next locus by the gird of the 30s. Let’s say we get a 10 of Diamonds, we’ll go to the 20s because it is a red grid and hit image 20. Then we get a 5 of hearts and go straight up on the wall to reach image #65. Now, we enter the next locus by the grid of the 60s.Let’s say we get a 5 of Clubs, we’re going to go to the black adjacent grid, the 50s and hit image 55 and then say we get a 2 of diamonds. Now we need to switch level as we go in a straight line and this means we’re hitting the 0s.
This changes. We now hit the 20s or 22 because the 2 of diamond is red and the 20s is a red wall.
But the zeros are royals under the Less L system and the royals are both black and red.
Now, the royals are black only.
If we prefer to hit the opposite wall of the red 20s instead, that would work just as well and is a viable alternative.
This viable alternative is now my method and I think it is better.
(But had this second card been a King of Hearts instead, we would have hit straight across the room going down one level to hit the grid of the 30s. This moved would have been dictated by this rule:
On the second image or card of a locus, if you get a royal from a vertical high position 40s 50 60 70s (neither ceiling nor floor) then you must hit across the room and low.
Not all moves have been covered here but all the basic principles behind all moves are covered.